How to Use WordPress with Hostinger: A Complete Beginner-Friendly Best Guide 2025
Introduction: Why WordPress and Hostinger Are the Perfect Match
Imagine building your dream website in just a few clicks — no tech degree required. That’s the power of combining WordPress with Hostinger. Whether you’re a blogger, an online store owner, or a freelancer, learning how to use WordPress with Hostinger can transform your online presence with speed, reliability, and ease.
WordPress is the world’s most popular content management system (CMS), powering over 43% of all websites (Source: W3Techs). And Hostinger? It’s one of the most beginner-friendly, budget-conscious, and high-performance hosting providers available today.
In this guide, we’ll break down every step you need to take to launch, customize, and optimize your WordPress website using Hostinger. By the end, you’ll not only know how to use WordPress with Hostinger—you’ll master it.
Why Choose WordPress with Hostinger?
Before diving into the how-to, let’s understand why this combination works like magic.
Hostinger provides some of the lowest-priced hosting plans in the industry without sacrificing speed or features. Plans start at just $2.99/month, which includes free SSL, free domain (on select plans), and a one-click WordPress installer.
Designed for Beginners
The custom Hostinger dashboard (hPanel) is intuitive and offers quick access to tools that beginners often struggle to find on other platforms.
Blazing-Fast Load Times
According to tests by Bitcatcha, Hostinger servers consistently deliver sub-200ms response times in multiple regions
Step-by-Step: How to Use WordPress with Hostinger
- Go to Hostinger.com.
- Choose a WordPress Hosting Plan (we recommend “Premium WordPress” for beginners).
- Register a domain name (free with most plans).
- Complete the signup and payment process.
Let’s walk through each step to get your WordPress website up and running with Hostinger.
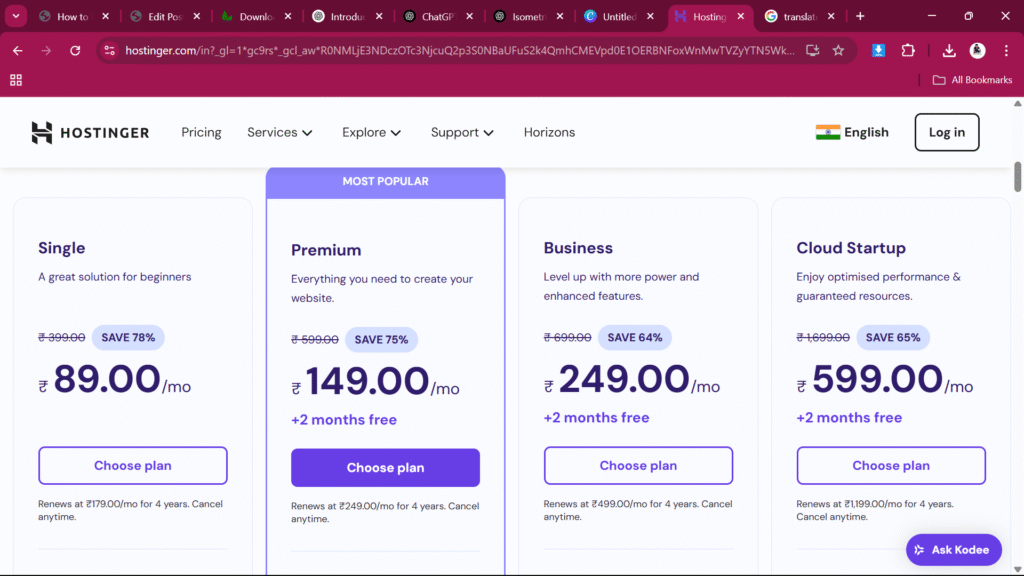
Step 1: Choose a Hosting Plan
Start by visiting the Hostinger homepage. Navigate to their “WordPress Hosting“ section. You’ll find multiple plans:
| Plan Name | Ideal For | Price (approx.) | Key Features |
|---|---|---|---|
| Single WordPress | Basic blog or portfolio | 89रु/month | 1 website, 50 GB SSD, 1 Email |
| WordPress Starter | Small business sites | 149रु/month | 100 websites, Free Email & SSL |
| Business WordPress | Growing sites/eCommerce | 599रु/month | Daily backups, 200 GB SSD, Staging |
Pro Tip: For flexibility and scalability, go with the WordPress Starter plan.
Step 2: Register Your Domain

- Hostinger offers free domain registration with select plans.
- You can also use a domain you already own by pointing it to Hostinger’s nameservers.
Step 3: Use Auto-Installer to Set Up WordPress
Once you’ve purchased your plan:
- Log in to the Hostinger dashboard (hPanel).
- Under “Website,” click Auto Installer.
- Choose WordPress and fill in your site details (title, admin email, password).
- Click Install.
Voila! You now have WordPress installed.
First Things to Do After Installation
Installing WordPress is just the start. Here’s what to do next.
1. Log into Your WordPress Dashboard
Visit yourdomain.com/wp-admin and log in using the credentials you created. You’ll land on the WordPress dashboard — your control center.

2.Customizing Your WordPress Site
Choosing the Right Theme
Hostinger offers many free and premium WordPress themes. Some beginner-friendly options:
- Astra
- OceanWP
- Neve
- Kadence
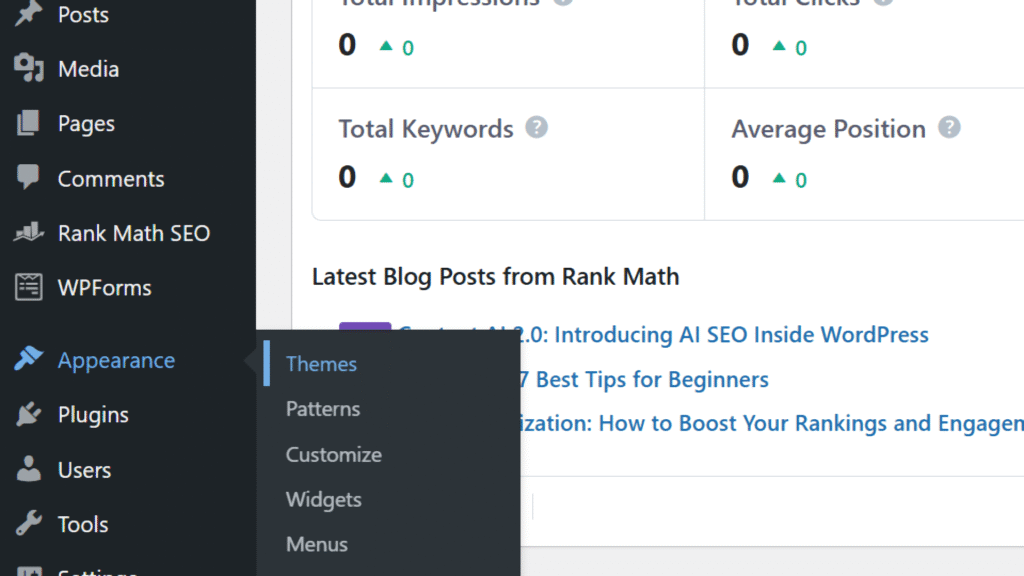
Customize with WordPress Customizer
Go to Appearance > Customize to tweak site colors, layout, and typography.
Use Elementor or Gutenberg
- Gutenberg is the default WordPress editor (block-based).
- Elementor is a powerful drag-and-drop page builder.
Essential WordPress Settings After Installation
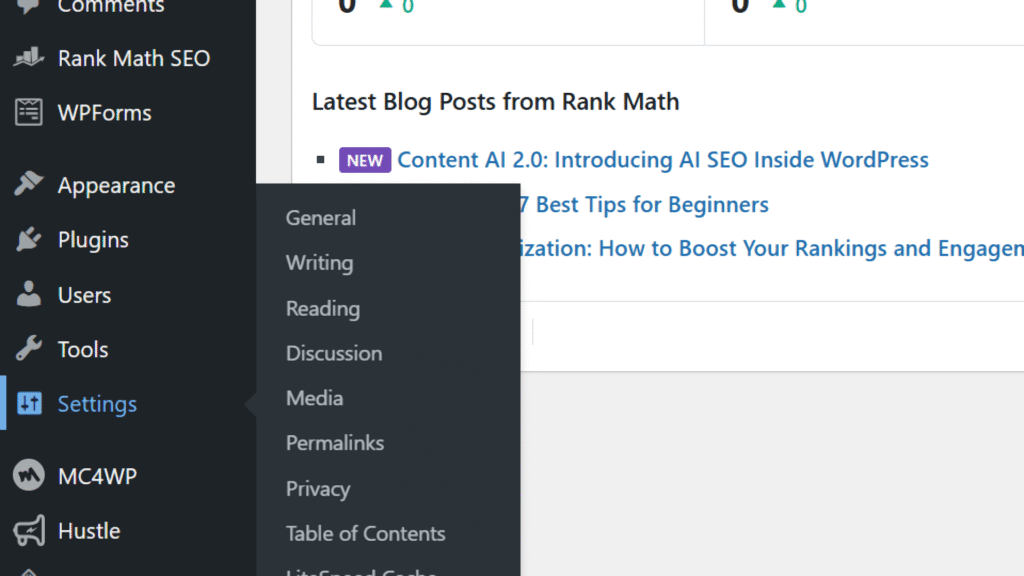
Site Title and Tagline
Go to Settings > General. Add a compelling title and tagline that reflects your site’s mission.
Permalinks
Under Settings > Permalinks, choose “Post Name” for SEO-friendly URLs.
Disable Comments (Optional)
If you’re not running a blog, disable comments under Settings > Discussion.
3. Install Essential Plugins
Here are must-have plugins to get started:
| Plugin Name | Purpose |
| Yoast SEO | Search Engine Optimization |
| Elementor | Drag-and-drop Page Builder |
| WPForms | Easy Contact Forms |
| UpdraftPlus | Website Backup |
| LiteSpeed Cache | Improve Speed & Performance |
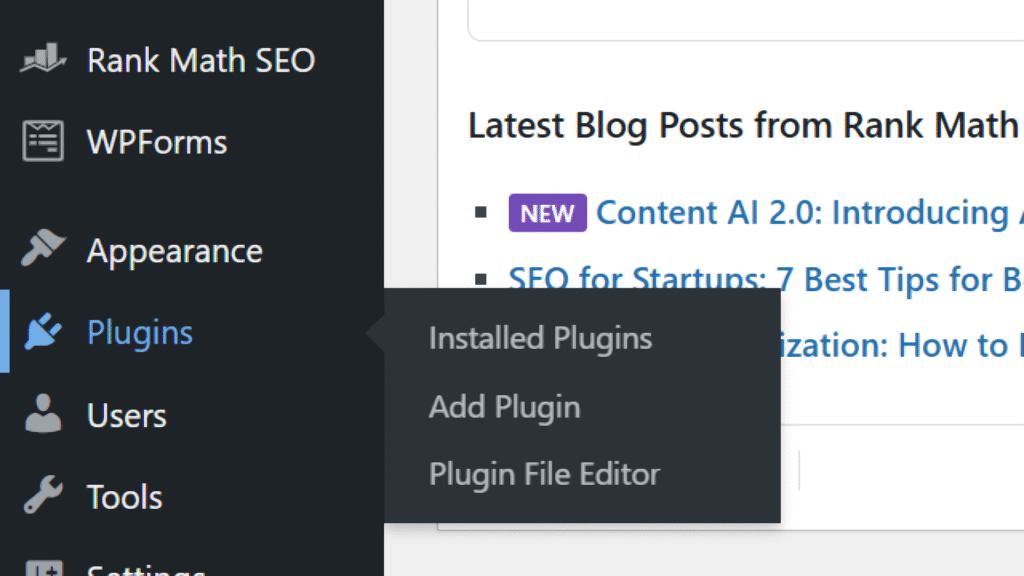
To install:
- Go to Plugins > Add New
- Search for the plugin name
- Click Install and then Activate
4. Set Up Key Pages
- Home Page: Your site’s front page.
- About Page: Tells visitors who you are.
- Contact Page: Include a form and your location.
- Blog Page: If you’re planning to publish articles.
You can create these under Pages > Add New.
Boosting Performance & Security
Speed Optimization
- Enable LiteSpeed Cache (available on Hostinger)
- Compress images using Smush or ShortPixel
- Use a CDN like Cloudflare (integrated via Hostinger)
Security Best Practices
- Change login URL using WPS Hide Login
- Enable two-factor authentication
- Regularly update WordPress core, plugins, and themes
SEO Tips for WordPress on Hostinger
Keyword Optimization
Use tools like Ubersuggest or Ahrefs to find long-tail keywords.
On-Page SEO
- Use Yoast SEO plugin
- Add meta titles and descriptions
- Optimize headings and image alt text
Create XML Sitemap
Yoast SEO creates one automatically. Submit it to Google Search Console.
Link Building
- Interlink your blog posts
- Reach out to other bloggers for backlinks
Mobile Optimization
Choose a responsive theme and test with Google Mobile-Friendly Test
Hostinger vs. Other Hosts: A Quick Comparison
| Feature | Hostinger | Bluehost | SiteGround |
| Starting Price | $2.99/month | $3.95/month | $3.99/month |
| Free SSL | Yes | Yes | Yes |
| WordPress Auto-Install | Yes | Yes | Yes |
| Staging Environment | Yes | Only on high-tier plans | Yes |
| Server Performance | High (LiteSpeed) | Medium (Apache) | High (NGINX) |
Bottom Line: Hostinger provides the best value-for-money, especially for beginners.
Common Mistakes to Avoid
Even the pros mess up sometimes. Avoid these pitfalls:
- Skipping backups: Always back up before major updates.
- Installing too many plugins: Slows down your site.
- Ignoring updates: Leads to security vulnerabilities.
- Not optimizing images: Can kill your site speed.
Final Thoughts: Is Hostinger + WordPress Right for You?
Absolutely — if you want a fast, affordable, and beginner-friendly setup. With WordPress’s flexibility and Hostinger’s modern hPanel, you’re equipped to build a professional site without touching code.
So now that you know how to use WordPress with Hostinger, it’s time to act.
FAQs: How to Use WordPress with Hostinger
1. Is Hostinger good for WordPress beginners?
Yes. Hostinger’s hPanel, 1-click installs, and affordable pricing make it ideal for first-time WordPress users.
2. Can I migrate an existing WordPress site to Hostinger?
Yes. Use the free Hostinger Migration Tool or the All-in-One WP Migration plugin.
3. Do I need technical skills?
Not at all. Hostinger simplifies everything from domain setup to website launch.
4. How secure is my website on Hostinger?
Hostinger offers SSL, DDoS protection, and weekly backups. You can enhance security with plugins like Wordfence.
5. Will my site be fast?
Absolutely. Hostinger uses LiteSpeed servers, SSD storage, and caching to ensure lightning-fast performance.
Ready to Launch?
Final Thoughts and CTA
Learning how to use WordPress with Hostinger is more than just setting up a website—it’s about empowering yourself to build, grow, and own your digital space. Whether you’re starting a blog, online store, or portfolio, this combo offers a winning blend of ease, speed, and scalability.
So, why wait? Sign up for Hostinger today and get your WordPress site live in under 30 minutes.
Have questions or want to share your experience? Drop a comment below or explore our Beginner WordPress Tips to keep learning.