
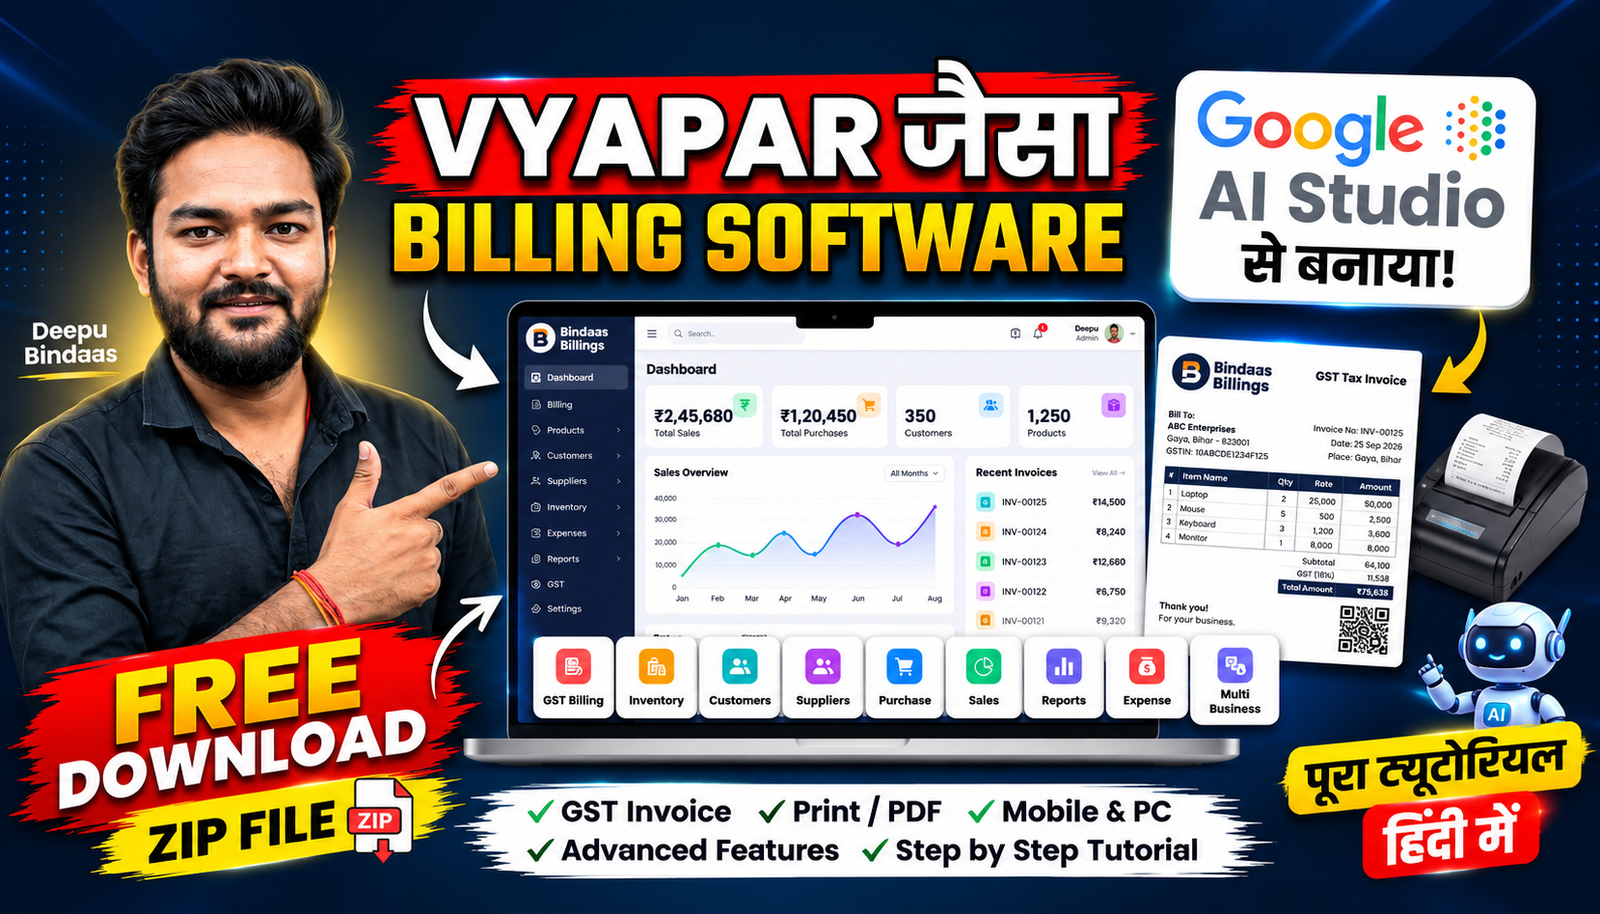
Vyapar जैसा Billing Software Google AI Studio से कैसे बनाएं? Complete Guide
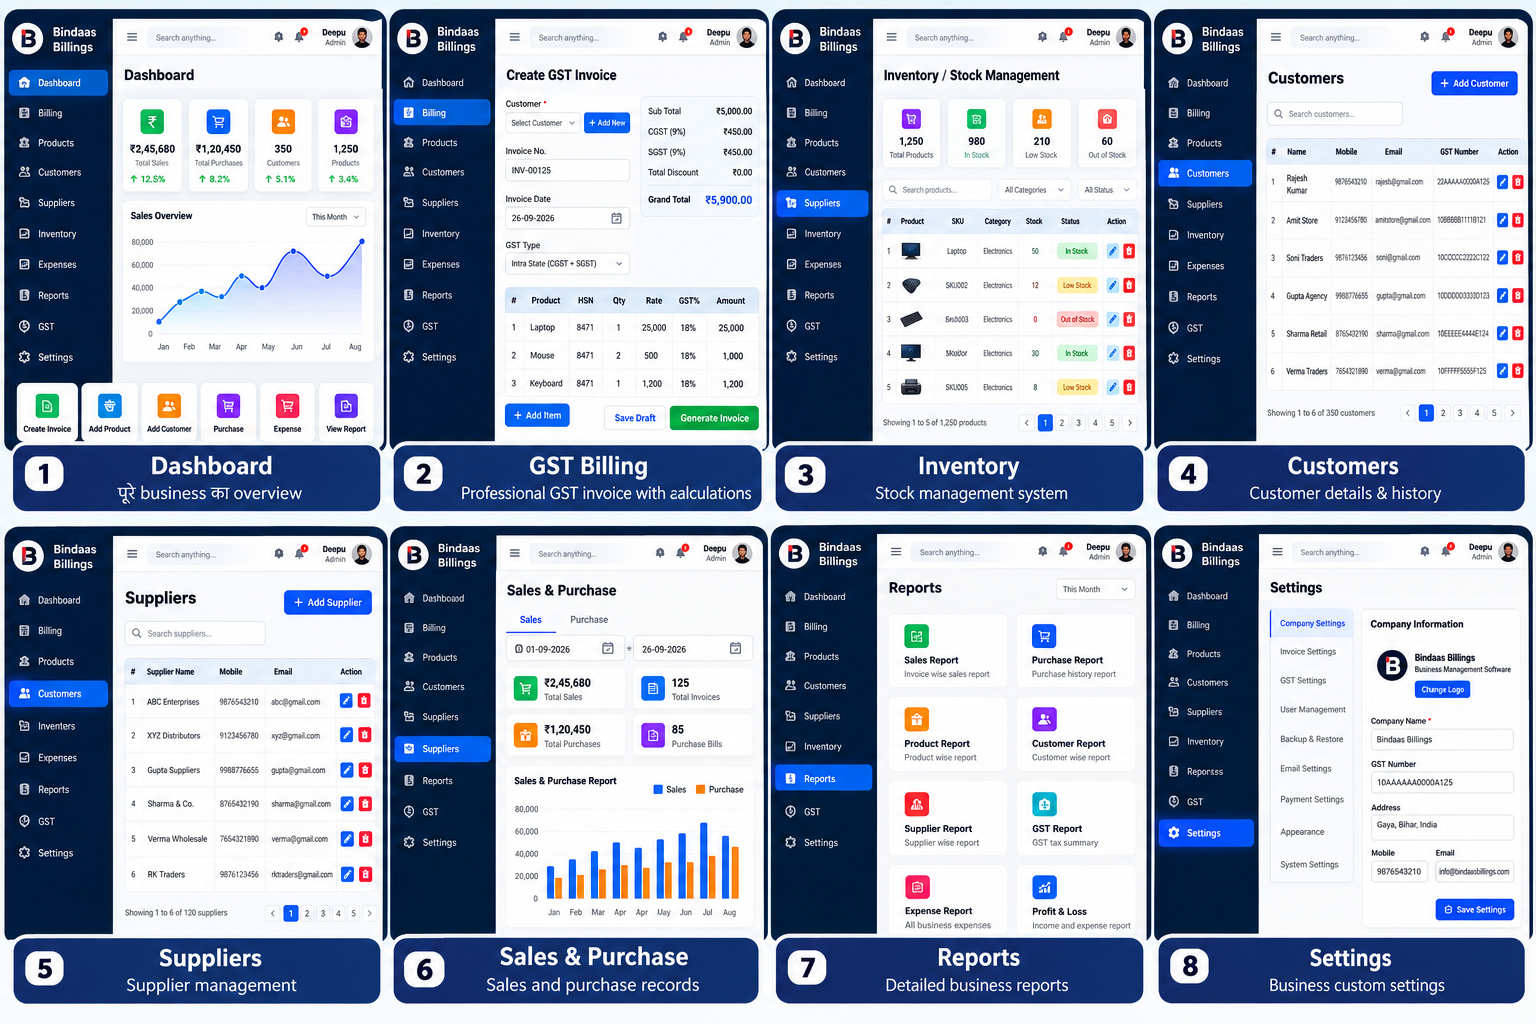
अगर आप billing software, GST billing system या अपने retail business के लिए एक complete business management software बनाना चाहते हैं, तो अब AI की मदद से development process पहले की तुलना में काफी आसान हो सकता है।इस guide में मैं आपको बताऊंगा कि मैंने Google AI Studio की मदद से एक advanced billing software कैसे बनाया, इसमें कौन-कौन से features रखे गए हैं और इसे website/server पर कैसे deploy किया जा सकता है।इस project का interface और workflow popular Indian billing applications से inspired है, लेकिन यह independent project है और Vyapar का official product या official clone नहीं है।
GST BILLING
INVENTRY
CUSTOMERS
SUPPLIER
SALES
REPORTS
Billing Software क्या होता है?
Billing software एक ऐसा software system होता है जिसकी मदद से business अपने sales invoices, customers, products, inventory और transactions को digitally manage कर सकता है।एक modern billing software में केवल invoice बनाना ही जरूरी नहीं होता।

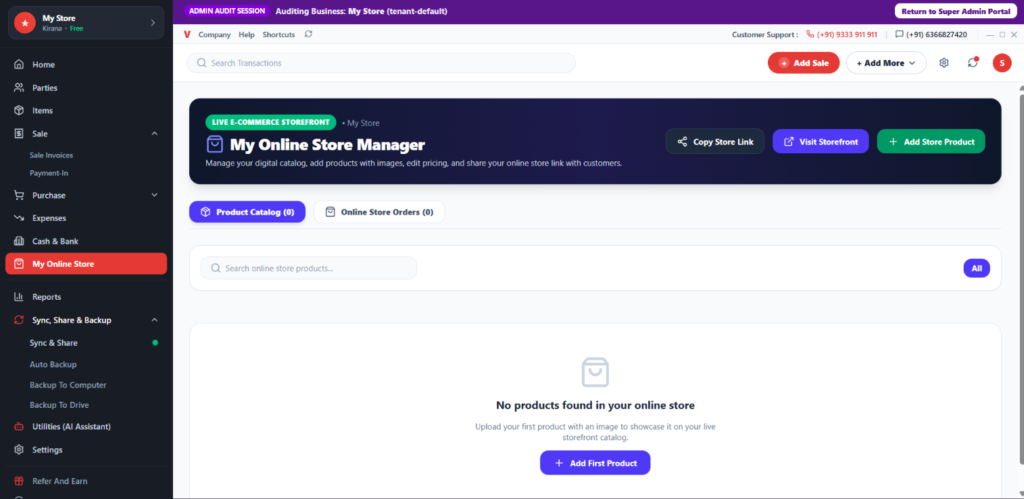
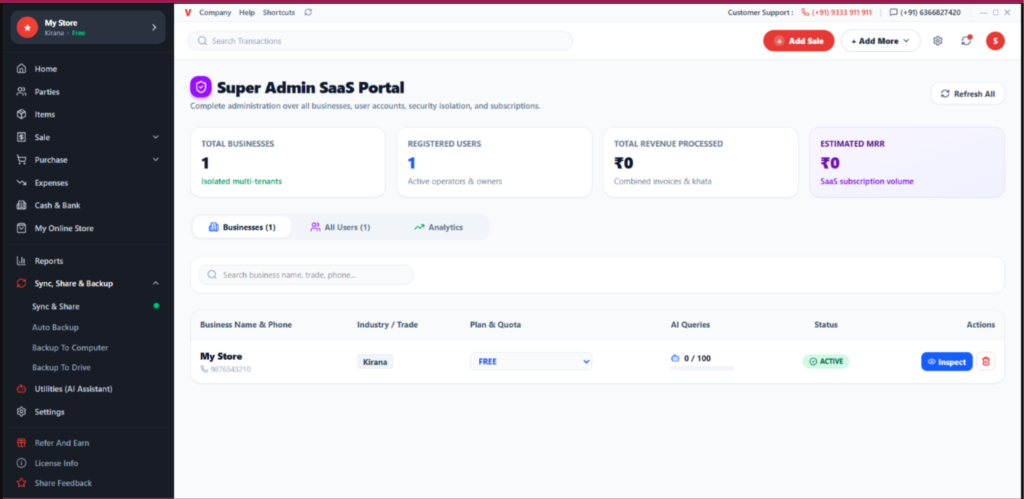
एक complete system में ये modules भी हो सकते हैं:
- Sales
- Purchase
- GST Billing
- Invoice
- Products
- Inventory
- Customers
- Suppliers
- Expenses
- Reports
- Payments
- Business Settings
- User Management
Retail shops और small businesses के लिए billing के साथ inventory और reporting भी important होती है। Current Indian retail-billing solutions भी GST invoices, inventory, customer management और reporting को core capabilities के रूप में highlight करते हैं
मैंने यह Billing Software क्यों बनाया?
मैं एक ऐसा system बनाना चाहता था जिसमें business की अलग-अलग activities को एक ही dashboard से manage किया जा सके।
Basic billing software में अक्सर focus सिर्फ invoice बनाने पर होता है।
लेकिन इस project में मेरा focus था:
Billing + Inventory + Customers + Suppliers + Sales + Purchase + Reports + Business Managementको एक integrated system में रखना।
Google AI Studio का इस्तेमाल क्यों किया?
Google AI Studio का उपयोग मैंने software development workflow में AI assistance के लिए किया।
सबसे पहले मैंने software की requirements define कीं।
इसके बाद अलग-अलग modules के लिए detailed instructions दिए।
उदाहरण के लिए:
 Create a professional billing dashboard with GST billing,
inventory management, customer management, supplier management,
sales, purchase and business reports.
फिर generated output को test करके requirements के according changes और improvements किए।
Important
AI-generated code को blindly production में use नहीं करना चाहिए।
आपको:
- Code test करना चाहिए
- Login test करना चाहिए
- Database test करना चाहिए
- Security check करनी चाहिए
- Mobile responsiveness check करनी चाहिए
- Hosting environment test करना चाहिए
Google भी AI-assisted content के मामले में transparency और वास्तविक useful value पर जोर देता है।
Google AI Studio Project ko Build karke Hosting par Live Karein
Google AI Studio me website complete hone ke baad project ko ZIP file ke roop me download karein. ZIP ko computer me Extract karein. Extracted project folder ke andar package.json file honi chahiye.
Step 1: Node.js Install Karein
Sabse pehle computer me Node.js LTS version install karein. Installation complete hone ke baad Command Prompt me check karein:
node -v
npm -v
Step 2: Project Folder me CMD Open Karein
Google AI Studio se download ki gayi ZIP ko Extract karein.
Example:
Downloads
└── my-billing-software
    ├── package.json
    ├── src
    ├── public
    └── ...
Project folder open karein. File Explorer ke address bar me:
cmdlikhkar Enter karein.
Step 3: Dependencies Install Karein
CMD me:
npm installAgar dependency conflict aaye, to:
npm install --legacy-peer-depsIske baad project me node_modules folder create ho jayega.
Step 4: dist Folder Banayein
Ab run karein:
npm run buildBuild successful hone ke baad generally project ke andar:
my-billing-software
├── dist
│   ├── index.html
│   └── assets
├── src
├── node_modules
└── package.json
jaisa dist folder ban jayega.
Step 5: Hosting par Upload Karein
Hostinger me:
hPanel → Websites → Manage → File Manager → public_html
Ab local computer me dist folder open karein.
⚠️ dist folder ko direct public_html/dist/ ke roop me upload mat karein.
dist ke andar ki files upload karein:
public_html/
├── index.html
└── assets/
Agar website subdomain par hai, jaise:
software.deepubindaas.comto us subdomain ke document-root folder me dist ki files upload hongi.
Step 6: Website Test Karein
Domain open karein:
https://yourdomain.comAur desktop + mobile dono par check karein:
Home → Login/Register → Dashboard → Buttons → Forms → Products/Invoices → Mobile responsiveness